
Introduction
Uncovering your Xbox Series X controller for maintenance might seem daunting without the right tools, but it’s achievable. This guide offers a step-by-step approach to take apart your controller safely using alternative household items instead of a screwdriver. Effective repair ensures your controller remains in top shape, extending its lifespan and enhancing your gaming experience. By the end of this walkthrough, you’ll be prepared to handle basic repairs like fixing stuck buttons or addressing joystick drift challenges.
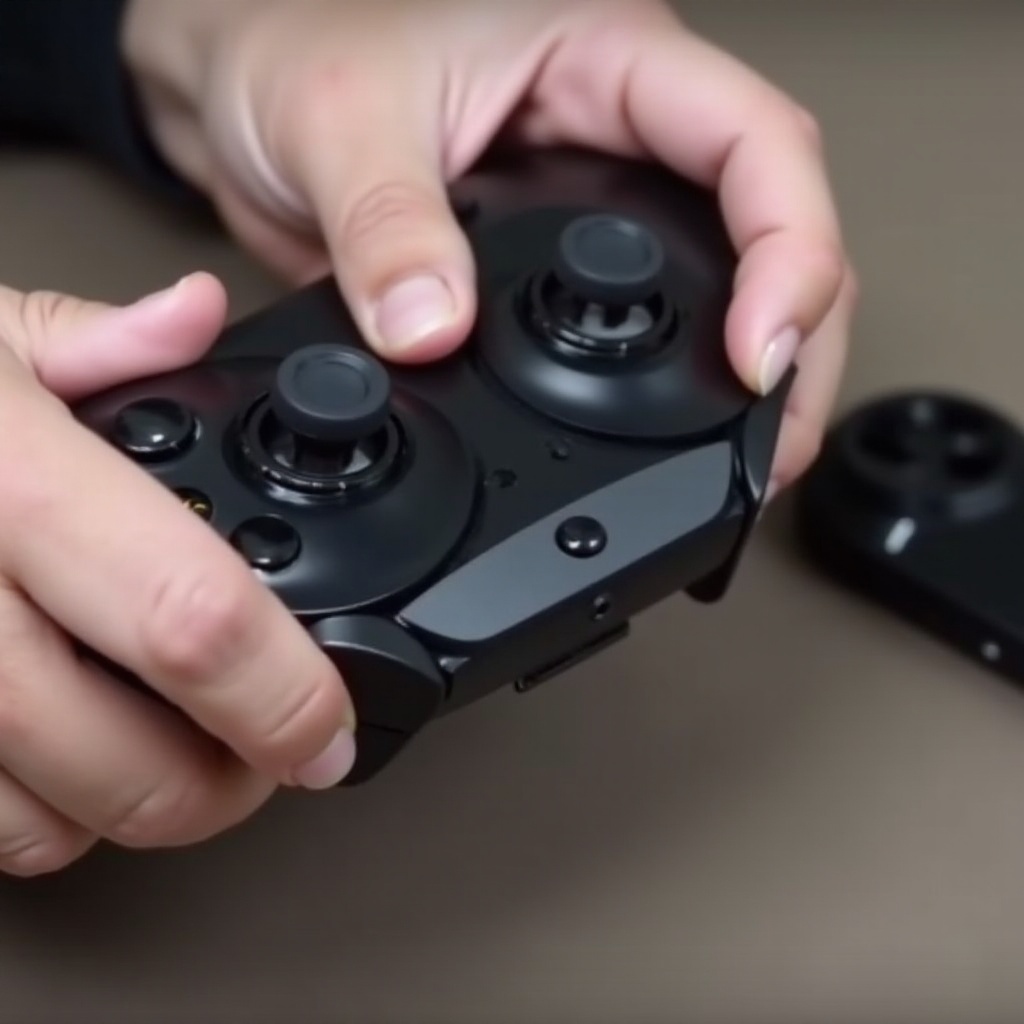
Understanding Your Xbox Series X Controller
The Xbox Series X controller is an intricate piece of hardware designed for optimal gaming performance. Familiarizing yourself with its structure can make disassembly simpler and safer.
-
Components Overview: Inside your controller, you’ll find multiple parts, including the faceplate, grip panels, buttons, triggers, and the internal circuit board managed by screws. Recognizing these components aids in knowing how to separate them during your repair process.
-
Common Reasons for Disassembly: Gamers often disassemble controllers to resolve issues such as sticky buttons, drift in joysticks, and even unresponsive triggers. These problems can usually be rectified with just a bit of cleaning or small adjustments.
Armed with this understanding, you’re ready to set up your workspace and gather your tools. Let’s dive into the preparation phase.
Preparing for Safe Disassembly
Preparation can be the difference between a successful DIY repair and a frustrating experience. Taking time to arrange a suitable workspace and collect alternative tools is crucial.
-
Safety Precautions: Ensure that your work area is free of static to avoid damaging the internal components. Collect items like towels to prevent scratching or marking glossy surfaces.
-
Setting Up Your Workspace: Choose a tidy, flat surface with good lighting. Lay out a cloth or towel to keep all components in view and separated clearly.
-
Gathering Alternative Tools: In the absence of a traditional screwdriver, tools like a plastic card or guitar pick can be instrumental. These can slip into seams with minimal risk of damage.
With your workspace ready and tools in hand, it is time to start the disassembly process.
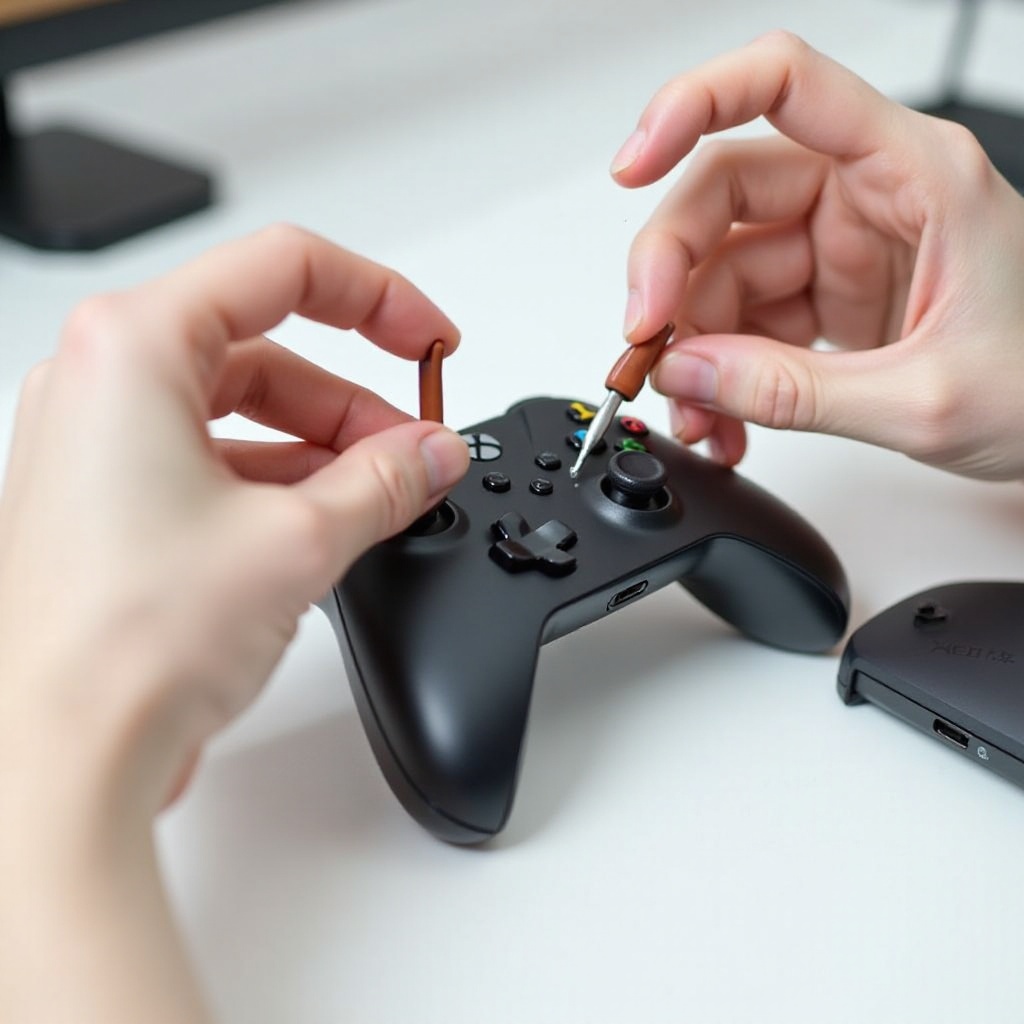
Step-by-Step Guide to Dismantle Without a Screwdriver
Disassembling your controller requires a delicate approach, especially without a screwdriver. Following the steps outlined will ensure safe handling of your device.
-
Removing the Battery Cover: With the controller face down, slide a thin tool into the battery compartment’s side seam. Gentle leverage will pop the cover free without damage.
-
Extracting the Grip Panels: Use a small prying tool along the panel seams to ease them away from the body. Work gradually around the edges to avoid any snap or crack.
-
Accessing Internal Components: Once panels are off, gently separate the controller’s body halves to expose the inner layouts and circuitry. Handle these parts cautiously to not disturb the sensitive connections.
Now that you have accessed the internals, it’s time to address potential issues causing controller malfunction.
Troubleshooting Common Issues
With the controller open, it’s easier to identify and correct common problems that affect gaming performance.
-
Fixing Button Sticking: Remove any particles or grime resting under the buttons using a clean, soft brush. Properly realigning buttons will solve sticking, restoring smooth operation.
-
Joystick Adjustment: Handling joystick drift involves repositioning the springs or cleaning residue with rubbing alcohol. Inspect the console pads for wear signs too.
-
Resolving Connectivity Problems: Ensure all connections remain firmly in place. It’s crucial for maintaining a seamless signal between the controller and console.
If you’ve fixed the issues, follow the reassembly steps to restore your controller to working condition.
Reassembling Your Controller
Reassembly is about ensuring each piece returns to its rightful place. Proper alignment and secure fitting are keys to bringing your controller back to life.
-
Proper Component Alignment: Without rushing, fit each internal piece where it belongs, taking special care with button placements.
-
Securing External Parts: Close the casing gently. Firmly press panels until they snap snugly without force.
-
Testing Functionality: Power on the controller to check that all buttons and sticks respond correctly. A quick connection test with your console will confirm full recovery.
Through patient effort, your controller is now restored and ready for continued gaming adventures.
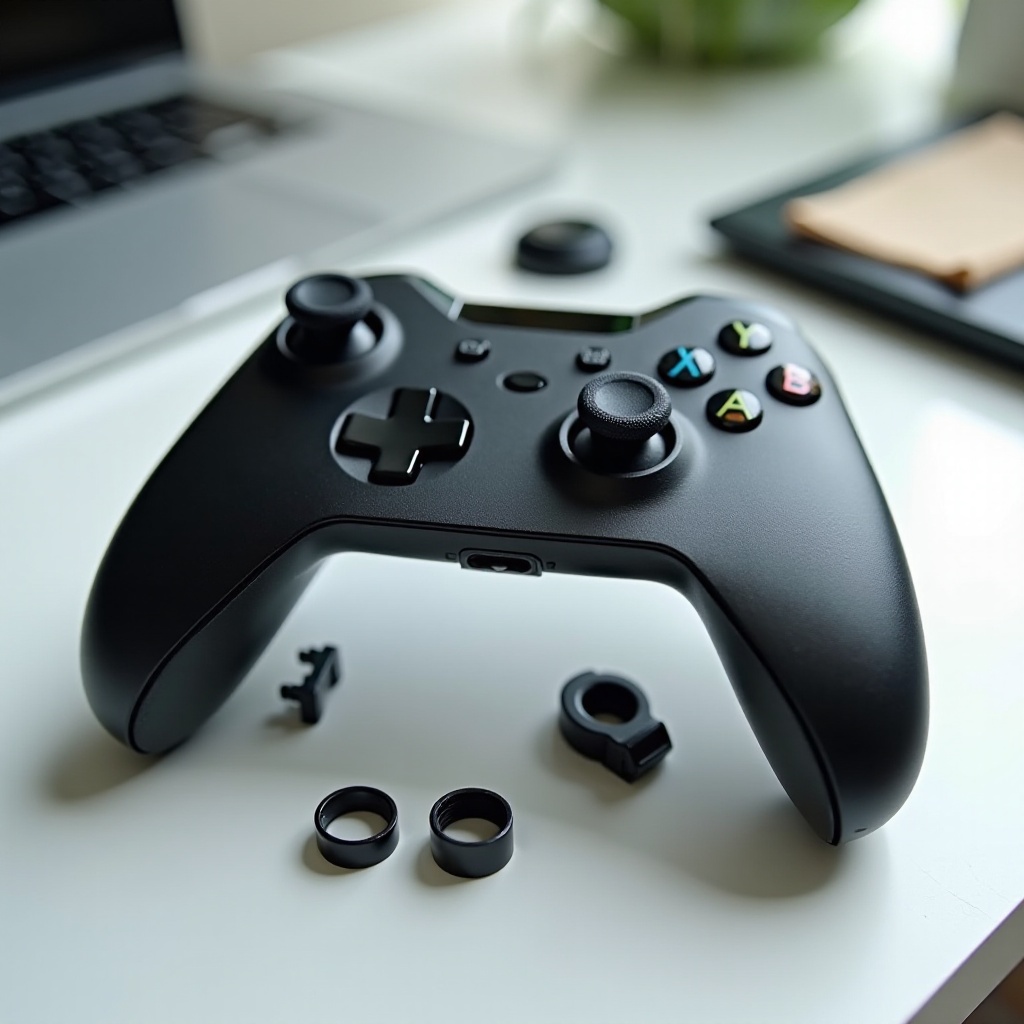
Conclusion
DIY repairs on your Xbox Series X controller are entirely feasible with the proper guidance and tools. By delicately handling each component and methodically working through the process, you won’t just save money but also learn new skills. Your gaming gear deserves care, and taking these steps prolongs its life while improving performance. Remember that patience and precision are your best friends in such endeavors. Enjoy the troubleshooting and satisfaction of a self-serviced controller.
Frequently Asked Questions
Can I use household items as alternative tools for disassembly?
Yes, items like credit cards, guitar picks, and plastic prying tools work well for gently opening up your controller without causing damage.
What are the risks of dismantling the controller myself?
The main risks include damaging internal components or voiding warranties. Proceed carefully, especially around delicate parts.
How often should I clean the inside of my Xbox Series X controller?
Cleaning depends on frequency of use. For regular gamers, a check every six months should suffice to ensure optimal performance.